Building Better Bags – Craftsy Class Review

If you follow Sara Lawson’s blog Sew Sweetness, you’re probably aware that she recently taught a Craftsy class. It’s all about interfacing and tips for better bag making. I feel pretty confident with interfacing choices, but I’m a big fan of Sara’s so I took this class to see what it had to offer. Craftsy has given me a discount to share with you all as well! Find the discount toward the bottom of the post.

The Class

I think the class did a really good job at showing something I thought could only be taught with a physical hands-on experience. Sara compiled many samples of interfaced fabrics, using different fabric and interfacing combinations. She showed several different examples in completed bags, which really helps demonstrate the body and support interfacing lends to bags.
I think it’s a really great class for those starting out in bag making. I wish this class was around when I first started making bags. The proper interfacing selection makes such a big difference to the look and feel of a completed bag. Just getting started at bag making can be so confusing and overwhelming; I really think this class helps take a lot of the confusion out of the subject. Even though I’m not a beginner, I picked up a few tips myself. I’d like to try some of the alternative stabilizers mentioned in the class.

It’s not only about interfacing though! Sara also covers how to:

  • make straps
  • install zippers
  • install magnetic snaps
  • make bias binding and piping
  • make a false bottom
Some other topics were: choosing thread, needle size, and stitch length. I’m excited to try her trick for bias binding finish on seams. I always struggle with those, but Sara made it look easy with her tips. I also learned about some interesting tools I’d like to try out. The class also comes with a handy interfacing comparison chart, found in the class materials.

The Platform

I’ve only started using Craftsy less than a year ago. I really like it so far. I find the app works really well for me, but watching from my computer is also convenient. I like to watch classes on my tablet while preparing food or folding laundry. There are many free classes to choose from as well. With Craftsy, there really isn’t a risk either, because of their 100% money back guarantee. Another really great feature of Craftsy is that class participants can ask (written) questions during the class, and the instructor answers. It’s great, because you see the questions others are asking. I learned nearly as much reading the questions and answers as I did from the class!

The Instructor

I found Sara so charming and really easy to listen to. Her instructions were clear and comprehensive. Those outfits! She doesn’t say in the class, but I’m almost positive she made all her outifts, and I loved seeing them. I found that Sara went above and beyond answering class questions. I didn’t notice any unanswered questions. Some questions I didn’t find relevant to the class, but Sara graciously answered them anyway. I also really liked that she showed us some of her “not so perfect” bags to help us learn from her mistakes.

Recommendation

I wholeheartedly recommend this class for anyone starting out in bag making. Whether you’ve made one bag, or you’ve made a few basic bags but are wanting to take your bags to the next level, then this is the class for you! I can’t fully recommend this class to experienced bag makers, because I think much of the material covered in the class, you will already have a firm grasp on. If you’re a fan of Sara’s though, like me, and enjoy taking Craftsy classes, then I still think you’d enjoy the class, and probably pick up a tip or two. It was fun seeing bags made from patterns I’ve used and even tested.  

Here are some other reviews of the class:

The Discount

Until February 11, you can save 50% on the Building Better Bags Craftsy class here.
Full disclosure: I received this class for free as part of the Craftsy affiliate program. The opinions expressed are my own. This post contains affiliate links and I earn commission from sales made through these links. Thanks for your support!

Have you taken the class? What did you think? What other classes would you like to see a review on? Let me know in the comments.

Windy City Bags Sew Along Announcement

I was lucky enough to receive a copy of Sara Lawson’s newest book Windy City Bags, so that I could host a Sew Along with all of you! Sara even let me decide which bag to sew with you. I loved so many bags from this book, so it was really hard to decide. I had to get some help from my Mom and sister to narrow it down. We decided that Hey Mercedes would be a great one for it.
Picture

Photo from SewSweetness.com
You can read a bit more about the bag here on Sara’s blog, Sew Sweetness. I really love the shape and size of this bag, and I think there’s a lot of room to be creative with this pattern. I also think it works well with some larger scale prints, which can be hard to work into some bags.
Before I get into the details of the Hey Mercedes sew along (including prizes and a discount), I wanted to share another bag I made from the book: Trompe Le Monde. This is a really unique bag, with a zippered divider pocket, a tongue lock closure tab, and some pretty overlays. I used Heather Givans’ Succulent line from Fabric Spark. The main exterior is a border print, and I had been waiting for just the right bag to display it. For the divider pocket and piping, I used a Mixology print from Sitka Fabrics; it works great as an accent.
Picture

Picture

It’s a great size too! This large tote has lots of room for books or magazines, a tablet and typical purse contents. Keep your valuables secure in the zippered divider, and the larger items in either of the large sections. The interior slip pocket is great for quick access items, like a phone and keys.
Picture

This was my first time installing atongue lock and it was so easy! Check out the free tutorial on Emmaline Bags to learn how to install it.

Hey Mercedes Sew Along Details and Discount

What’s a sew along? You can check out some of my other sew alongs to get a better idea, but the gist is that I will break down creating the bag in steps over a few days. I’ll try to explain the process with extra pictures, and I also offer tips and different ways to do things in the pattern. Many people enjoy sew alongs because it’s extra motivation to get going on a pattern you’ve been wanting to make. It’s also lots of fun to see progress of others joining in. Once it’s over, I’m always amazed and all the different bags made from the same pattern…so inspiring!

Because I know many of you still need the book, I’m giving you lots of time to get prepared for this event. If you haven’t purchased a copy yet, you can pick up a signed copy of Windy City Bags from the Sew Sweetness website. Book purchases from the Sew Sweetness website receive a free paper pattern (just leave a note at check-out which one you’d like), and as a special for the sew along, Sara is including the 4 metal rectangle rings you need for Hey Mercedes for free as well (just leave her a note at check-out that you’re participating in the sew along so she knows to include the hardware with your order).

You’ll have a whole month to gather your supplies and plan the bag. We’re starting the Sew Along on March 1st.

What you’ll need for Hey Mercedes:

  • 1 1/8 yard fabric for straps and accent
  • 1 yard fabric for exterior
  • 1 yard fabric for lining
  • 5/8 yard 58″ Soft and Stable or comparable foam interfacing, or equivalent amount of fleece
  • 2 7/8 yards 20″ fusible medium weight woven interfacing (such as Pellon ShapeFlex 101)
  • 4 metal rectangle rings (1 1/2″ wide)
  • 1 magnetic snaps
  • 2 x 12″ zippers

Sitka Fabrics, one of the sew along sponsors, is offering a 10% discount from now until February 21 with code Mercedes10 at checkout. I’ll be making mine with the gorgeous Avantgarde collection from Sitka Fabrics and the colors are stunning!

Picture

Picture

Prizes

Of course there are prizes! Really awesome prizes that I’m very excited about. Sitka Fabrics is giving away gift certificates and Aurifil has offered some thread boxes for prizes!! How awesome is that?! We will have one judged winner, and the rest will be random winners. I will include details on how to enter to win on March 1st.
Picture

Picture


So gather your supplies, and check back in on March 1st. I’ll be posting some progress shots on Instagram, so be sure to follow me there as well. I’ll use #HeyMercedesSAL, and I hope you do too, so everyone can follow along.

Crafting vs. Aging — Month 1

I concede defeat for January. It looks like my aging body won this round.
Unfortunately, I’ve been dealing with a whole bunch of new health issues, which means I haven’t been home very much to play with my fabrics and sewing machine. So no English Paper Piecing quilt happened.

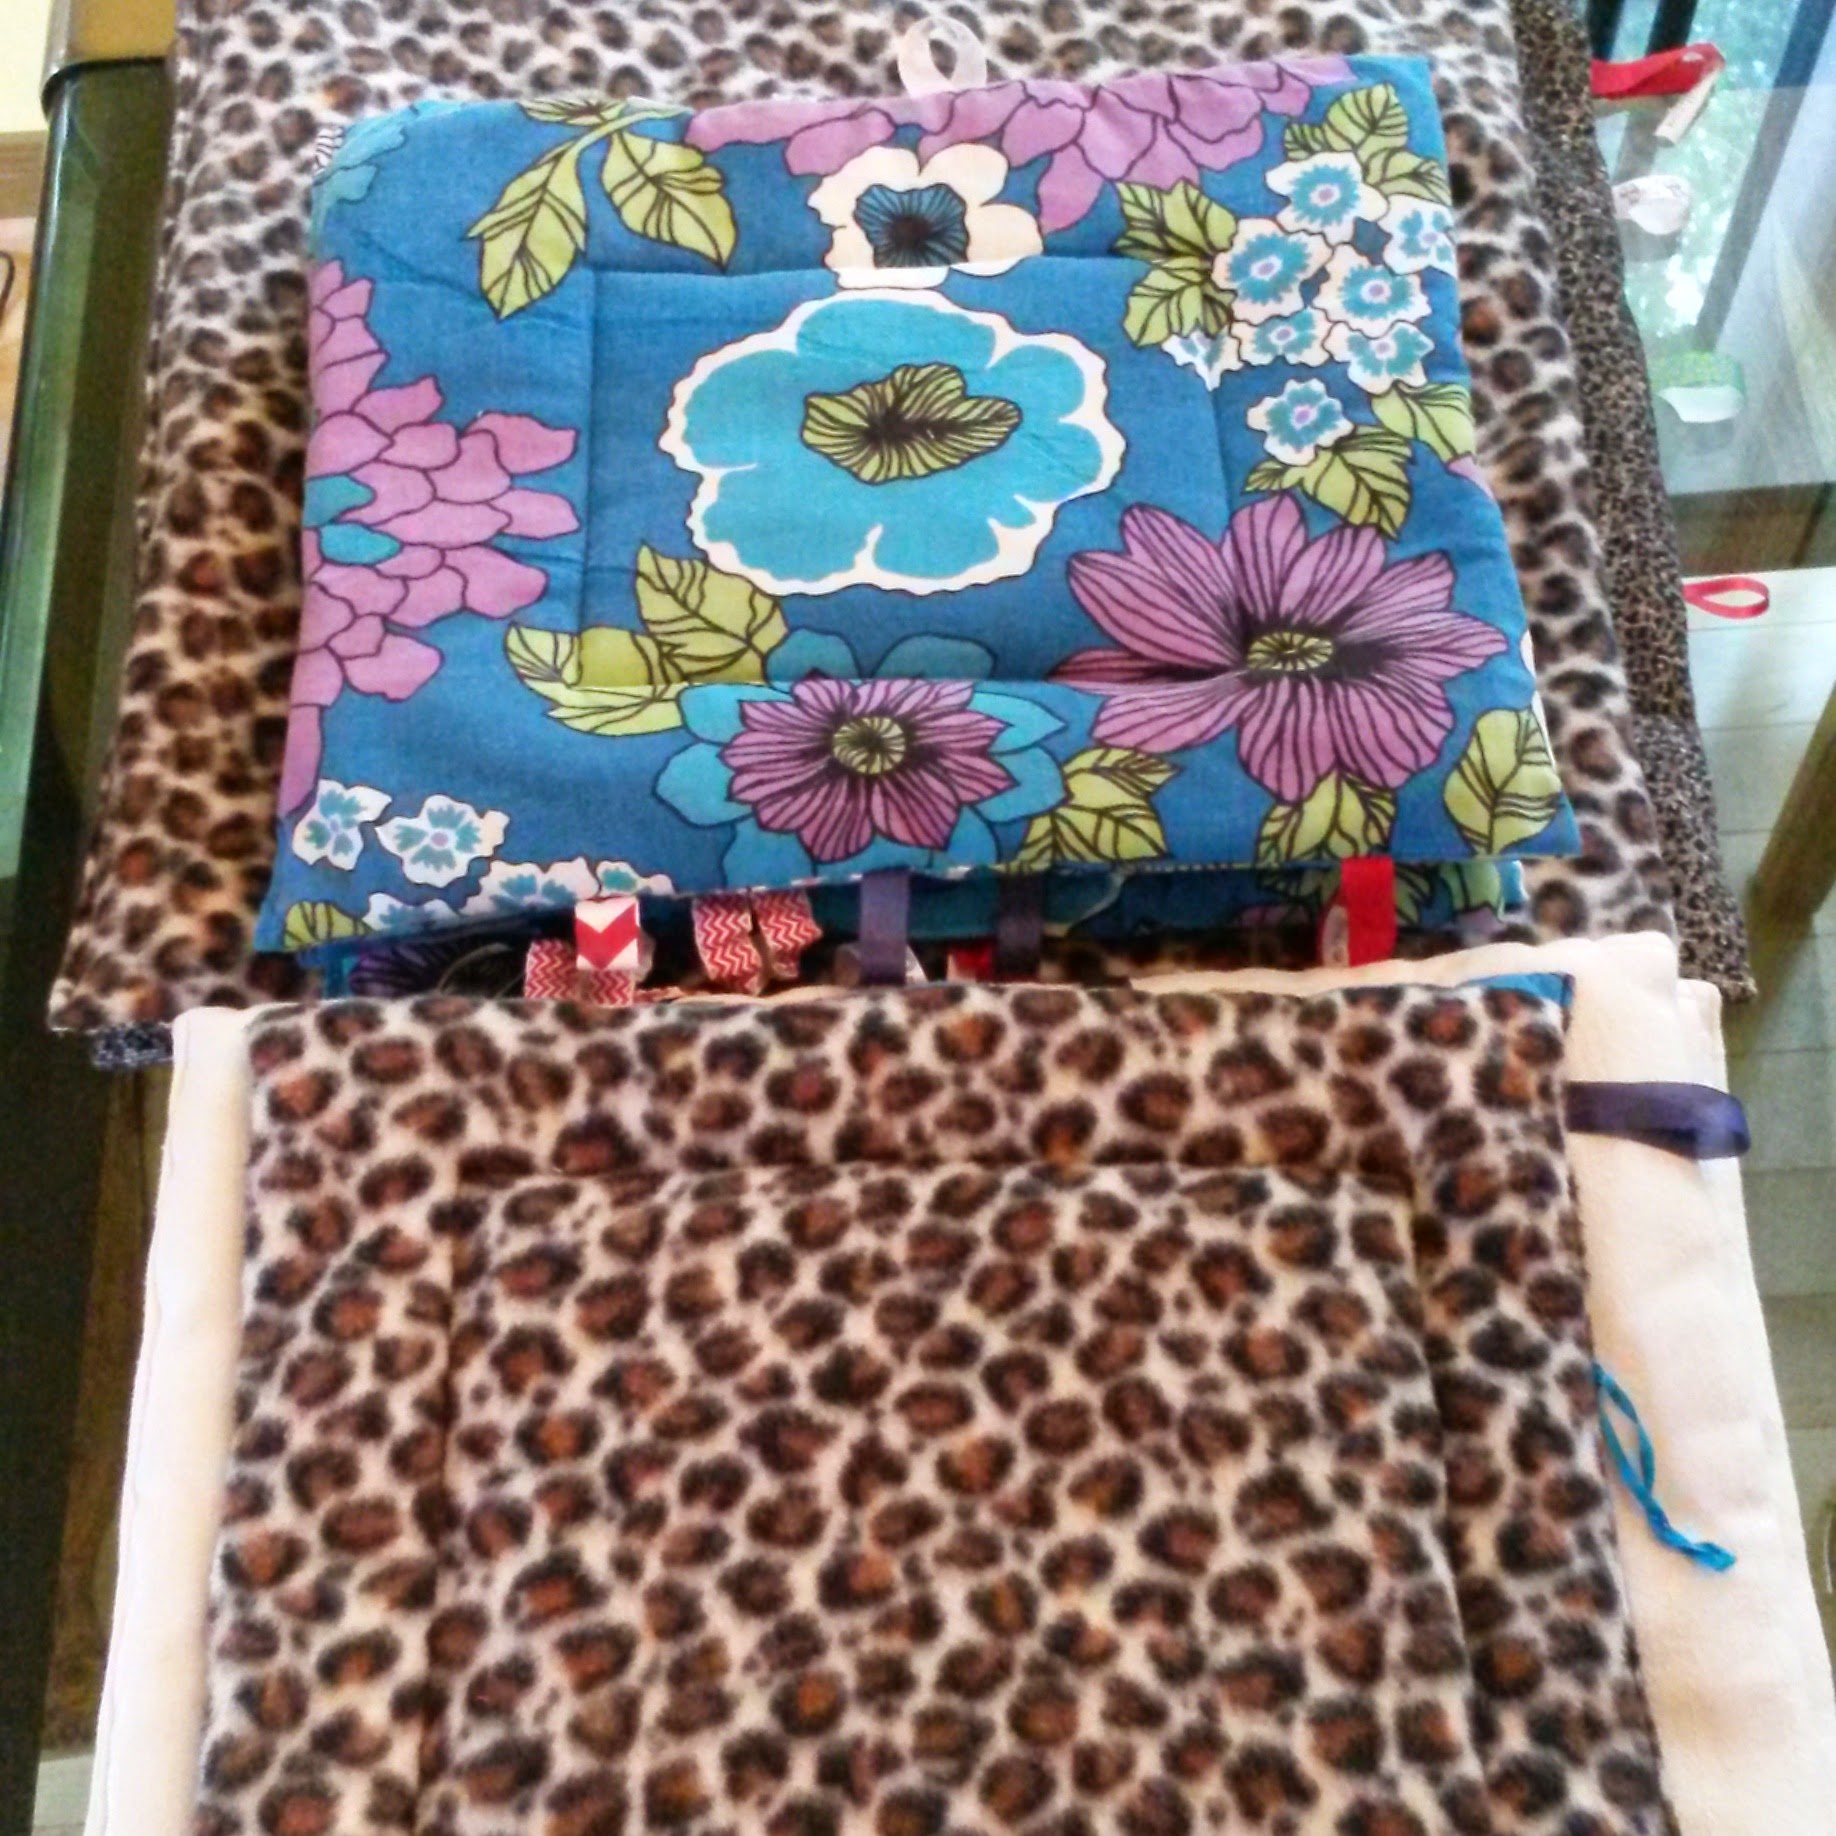
But since quilting was the task for the month, I’ll take us all back a few months to a project I worked on for charity. I made these little cage mats for an animal rescue organization. First I had to figure out how to manhandle thick layers of fabric and get them to stay together without my even-feed (walking) foot* that was still in transit at the time. And then I had the satisfaction of knowing I was helping to make some little critters more comfortable as they waited for their furever home.

IMG_20140921_120015

I didn’t know what the hell I was doing, but I am very proud of these.

* That walking foot link is an affiliate link to an aaaa-mazing price on Amazon. I just ordered another one. (Sigh!)

Tags: , ,

Free Valentine Printable and Mini Tutorial

Every year I want to make fun Valentine’s crafts, but sometimes the nice ones take too long to make lots of, and I don’t like leaving anyone out. So I decided to make up some key fobs: they’re quick, and pretty, and useful too. I made this cute free printable to turn this quick sew into a gift for your Valentine!
Picture

It’s super cheesy, I know, but hey, isn’t Valentine’s Day the perfect time to be cheesy? You’ll find download links toward the bottom of this post.

Key Fob Tutorial

Picture

For this project, you’ll need

  • Key fob hardware (I get mine from Emmaline Bags)
  • scrap piece of fabric at least 5″ x 11″
  • scrap of fleece or foam

My key fob hardware is 1.25″ wide, if your hardware is a different size, just adjust the measurements accordingly (cotton will be 4 times the width of the hardware).


Cut your fabric 5″ x 11″ (it can be slightly longer or shorter depending on your preference, I find 11″ is just right for my wrist)

Cut a piece of foam (Flex Foam or Soft & Stable for example) or fleece interfacing 1″ x 11″ (or whichever length you decided on)

Fold the fabric in half, matching long edges, and press.

Open the fabric up, fold the raw edges in to meet the center crease, and press again

Picture

Picture

Now insert the foam or fleece into one of the folds, and bring folded edges together; press in place


Sew each long side 1/8″ from the edge, starting with the edge that has the folds meeting. I like to use a longer stitch length here. If you like, add an extra row or two of stitching.

Fold in half, matching short, raw edges. Sew short edges together – I like to do a zig zag stitch here.

Picture

Insert into key fob hardware and clamp closed with pliers or a vice. If you’re using metal pliers, make sure to cover the key fob hardware with something like a tea towel or  scrap fleece, to prevent scratching from the pliers. You may also choose to add a small amount of glue before squeezing the hardware shut.
Once your key fob is done, print and cut out your Valentine, punch a hole and take a pretty ribbon to attach it. Voila! A unique and useful Valentine!
Picture


I’m including 3 downloads: 1 with pink text, 1 with black text and 1 blank, so you can fill in your own sentiment. The ones with text are PDFs and include 2 keys, side by side. The blank is a jpg, so you can plop it into a Word doc and add your own text or print as is. The PDFs should be printed in landscape.

pinkheartkeys.pdf
File Size: 246 kb
File Type: pdf

Download File


heartkeys-black.pdf
File Size: 241 kb
File Type: pdf

Download File


heartkey-blank.jpg
File Size: 163 kb
File Type: jpg

Download File


I’m happy for you to use these files! Please do not distribute or claim as your own; a link back to my site instead would be awesome, thank you!
As I mentioned above, I get my hardware from Emmaline Bags. If you’re in the UK, you can find them at Bobbin Girl.

Unblogged

This year has been off to a busy start! I’m busy behind the scenes working on lots of exciting content to bring you all! When I did my Happy New Year post, I realized there were several projects I hadn’t blogged about, so I figured I’d share them now.

First up is this gorgeous Swoon Evelyn Market Tote I made as a diaper bag for my friend. If you’ve been here a while, you may remember my first Evelyn, which looks very different than this one. That’s one thing I really love about making bags: you can use the same pattern and come up with a completely different look!

Picture

This bag was so special for me. I’ve been friends with the recipient since Kindergarten! I thought about what I liked and disliked about my own diaper bag, and came up with Evelyn. I only made 2 small additions; one was to add a large elastic pocket inside. The other was adding a loop with a swivel clasp to keep keys handy and easy to find.  I know a lot of diaper bags have cross-body straps, but in all my “diapering” years, I can’t ever remember carrying my loaded diaper bag cross-body.  I love the recessed zipper because I found I was always wanting quick easy access into a diaper bag, but also appreciated the security of a zipper when I wanted it.
Picture

I made sure to have a vinyl bottom and feet, because, let’s face it: diaper bags get put down in a lot of yucky places! Plus, it looks pretty awesome with black vinyl and silver feet against the gloriously bright colours of the fabric collection.
Picture

Of course, this isn’t as big as some diaper bags, and that’s just how I liked it, and how I envisioned my friend would like hers. I found that I never really carried too much in my bag, and I would have appreciated a stylish large purse, big enough for my wallet, phone, keys, and the baby essentials. 
Picture

This stunning fabric is from Alison Glass’ Ex Libris collection (from Fabricspark.com) plus a few prints from her Sun Prints collection. The Art Theory panel is the main focus of the bag and I think the stark contrast of the black vinyl and silver hardware is a perfect combo.
Picture

For this bag, I used a foam interfacing instead of craft fuse and fleece, like the last one, and I really love the structure the foam provides. All the fancy bag bling, aka hardware, came from Emmaline Bags, don’t you just love it all?!
Picture

I also made a matching teether blanket and keychain, plus a Swoon Coraline in coordinating prints from the same collection.

It looks like this post is long enough, so I’ll save some other projects for another time! Until then…

Picture

Crafting vs Aging: Challenge… Accepted!
www.seamofmypants.com

No doubt you’ve read, or at least heard of, myriad studies on how learning something new or doing something creative affects mental health, energy, aging, etc… If you get your kicks from reading academic research papers, by all means, go ahead and look up scholarly articles on neuronal plasticity. Personally, I wouldn’t recommend it unless you really are looking for a brain hemorrhage.

One of my favourite bits on the subject of creativity (although slightly off my topic) is this one by Martha Beck. The woman cracks me up. But one very simple article that sums up the connection between aging well and trying new creative pursuits is this one from Psychology Today. Or check out this one without the annoying typos from a Reuters staff writer.

I’m all for learning new anything, anytime, anywhere — with a few exceptions. Anyway, I jumped in head first when I came across this collaborative challenge from Stephanie Woodson and company:

www.seamofmypants.com

What does your brain need you to try?


This post contains affiliate links


The idea is to try a new craft or learn a new creative skill every month for 2016. Here’s the line-up…

January: Quilting

Ever since I saw someone post a gorgeous picture of a Runaround Bag* that she’d customized with English Paper Piecing (EPP), I’ve wanted to try something similar. Last week, I started with this short class on Creative Bug and came away thinking, “That’s all there is to it? It’s not as complicated as I thought!” Next I went looking for templates to use for my piecing. What is up with all the hexagons??? Don’t English quilters use any other shape? Downloaded this How-to guide and template from Craftsy anyway, but I am not making hexies! I want to make something original so I’ll have to draw some templates myself — maybe a cat shape. If I get it done by the end of the month, I’ll come back to post the results, but I’m not making any promises.

The rest of the year

February – Tactile Craft; paper mache, clay, soap, candlemaking, etc… I have all the makings for candles somewhere in a box, but I’ve already tried that and got bored with it. I also tried pottery way back in high school and presented my dad with a pen holder that leaned precariously to one side. But ever since Demi Moore and the muddy overalls (you know the scene!), I’ve wanted to give it another shot. Or I could just go bake some mud pies. We’ll see.

March – Painting. I’ll have to rely on my brilliantly talented BFF to teach me. Provided she’s recovered from the horror of my acrylic attempt.

April – Edible Crafts. Knives, mangoes, pineapples… this is not going to end well… On second thought, there’s a really cool class on Craftsy I want to take: Sugar Flowers! Um, yeah, still not going to end well.

May – Hand Sewing. I’ll take this month off, I think.

June – Heavy Craft: leather, wood burning, glass etching. Yes, yes YESS! Burnishers, chemicals, flame throwers… I can’t wait ’til June!

July – Yarn Craft: knitting, crochet, weaving. I will take this month off as well. Give my eyebrows and fingertips a change to grow back.

August – Printmaking: fabric or paper. I already started to collect my equipment and plan out the setup for screen printing. I watched these beginner classes with Hilary Williams on Creative Bug and can’t wait to give it a go. It’s gonna be like finger painting!

September – Machine Sewing. I’m sure I’ll find something new to do to my machine. But everything beyond here is too far into the future to plan.

October – Needlework: embroidery, cross-stitch, crewel, needlepoint

November – Papercraft: origami, scrapbook, calligraphy

December – Choose your own! Somebody’s asking for trouble letting a bunch-a crafters run about willy-nilly during the holidays.

Play with us …

What it comes down to is this: I don’t plan on letting my middle-aged body talk me into settling on the couch or getting into a comfortable routine. I have every intention of wrecking my nails with clay, sanding my fingerprints away and possibly losing the security deposit on my apartment. Because, well because, my neurons need more plastic. Join the craft war against aging and give your old brain a good workout to keep dementia at bay. The researchers and therapists say you should do it, so just do it!

Tell me in the comments what you plan to do, then head over to the special Facebook group to show and tell after you’ve done it. Or pick up some new ideas that would delight any first grader.

Meet you back here at the end of the month!

Marsha Law Sig2

* The Runaround bag is one of 3 patterns included with this Zip It Up class.

P.S.

I started to draw my cat face template and this is as far as I got. Taz thinks he’s more qualified to do this than I am.

www.seamofmypants.com

Taz wants to learn too

In case you missed it, this post contains affiliate links.


Craftsy

Tags: , , , , , , , ,

Vincent The Victor

Back in November I was excited to share with you that I had an article in One Thimble, a digital sewing magazine. Now, I’ve joined a blog hop to show some of the great patterns from Issue 9.
One Thimble Issue 9 Out Now

Vincent the Victor

Free Motion Embroidery pattern by Ric-Rac and Retro
Picture

As I mentioned in my November post, I’ve been wanting to try FMA – Free Motion Applique (or free motion embroidery, as far as I know they’re the same thing, at least they are in this situation), so when the opportunity to join other bloggers and sew up some items from One Thimble Issue 9 came up, I decided now is the time to give it a try. I put my name down for Vincent the Victor free motion embroidery pattern, and as luck would have it, the very next day, my son asked me to make him a fox bag. The stars aligned in my sewing world!

The pattern was really great and walked me through everything. To be honest, I wasn’t even entirely sure what free motion embroidery was! I just followed the steps, and voila! A fox to go on the front of a bag! I took a few pictures as I went to show you the process:

Picture

After cutting out the pattern pieces, and fusing interfacing and webbing.

Picture

Peeled off the fusible webbing backing and assembled the pieces; now fusing the assembly in place (I appliqued mine directly on to my bag front instead of an additional backing – this option is mentioned in the pattern as well).

Picture

My stitching lines all marked out and ready to go!
For the actual stitching, I used my free motion (darning) foot and had quite a bit of fun with it. Once that was done, I assembled my bag like normal. I used Thread Riding Hood’s Forest Glen Satchel, without the flap and side accent pieces; it was the perfect shape and size for this fox, and for my son, who requested a bag to carry his dinosaurs around in.

Of course, Vincent can be added to many different items: T-shirts, pillows, fabric baskets, or even a quilt!

This was such a fun project! I really enjoyed rummaging through my scraps to find the perfect “clothes” for Vincent. There’s so many variations that can be done too! Issue 9 offers 2 Free Motion Embroidery patterns, which you can buy individually, as a bundle, orjust get the whole issue for best value.

Check the links at the bottom of this post to see what everyone else was up to! Here are a few pictures of my finished bag – and one happy boy!

Picture

Picture

Picture

Picture

I’d love to hear what you think! Have you tried FMA yet?

Monday, January 11th

Felt With Love Designs // Sew Today, Clean Tomorrow

Tuesday, January 12th

Jody’s Crafty Creations

Wednesday, January 13th

Two Pretty Poppets

Thursday, January 14th

Rosie Petal @ The One Thimble Blog // Molly and Mama

Friday, January 15th

Happy Okapi